Its Day 4 and yesterday we saw our bodice take shape! Today we're working on the bottom part of our romper, and I've included steps to add snaps at the crotch for easy diaper change!
Just incase you missed it: Day 1 (click here), for Day 2 (click here)and for Day 3 (click here). Very quick recap, you can still get your pattern at 25% off regular price in the My Little Plumcakes Etsy shop, and you can also ask to join the My Little Plumcake facebook group to share your creations and have a chance to win 2 FREE patterns by My Litttle Plumcake and a set of 4 fat quarters.

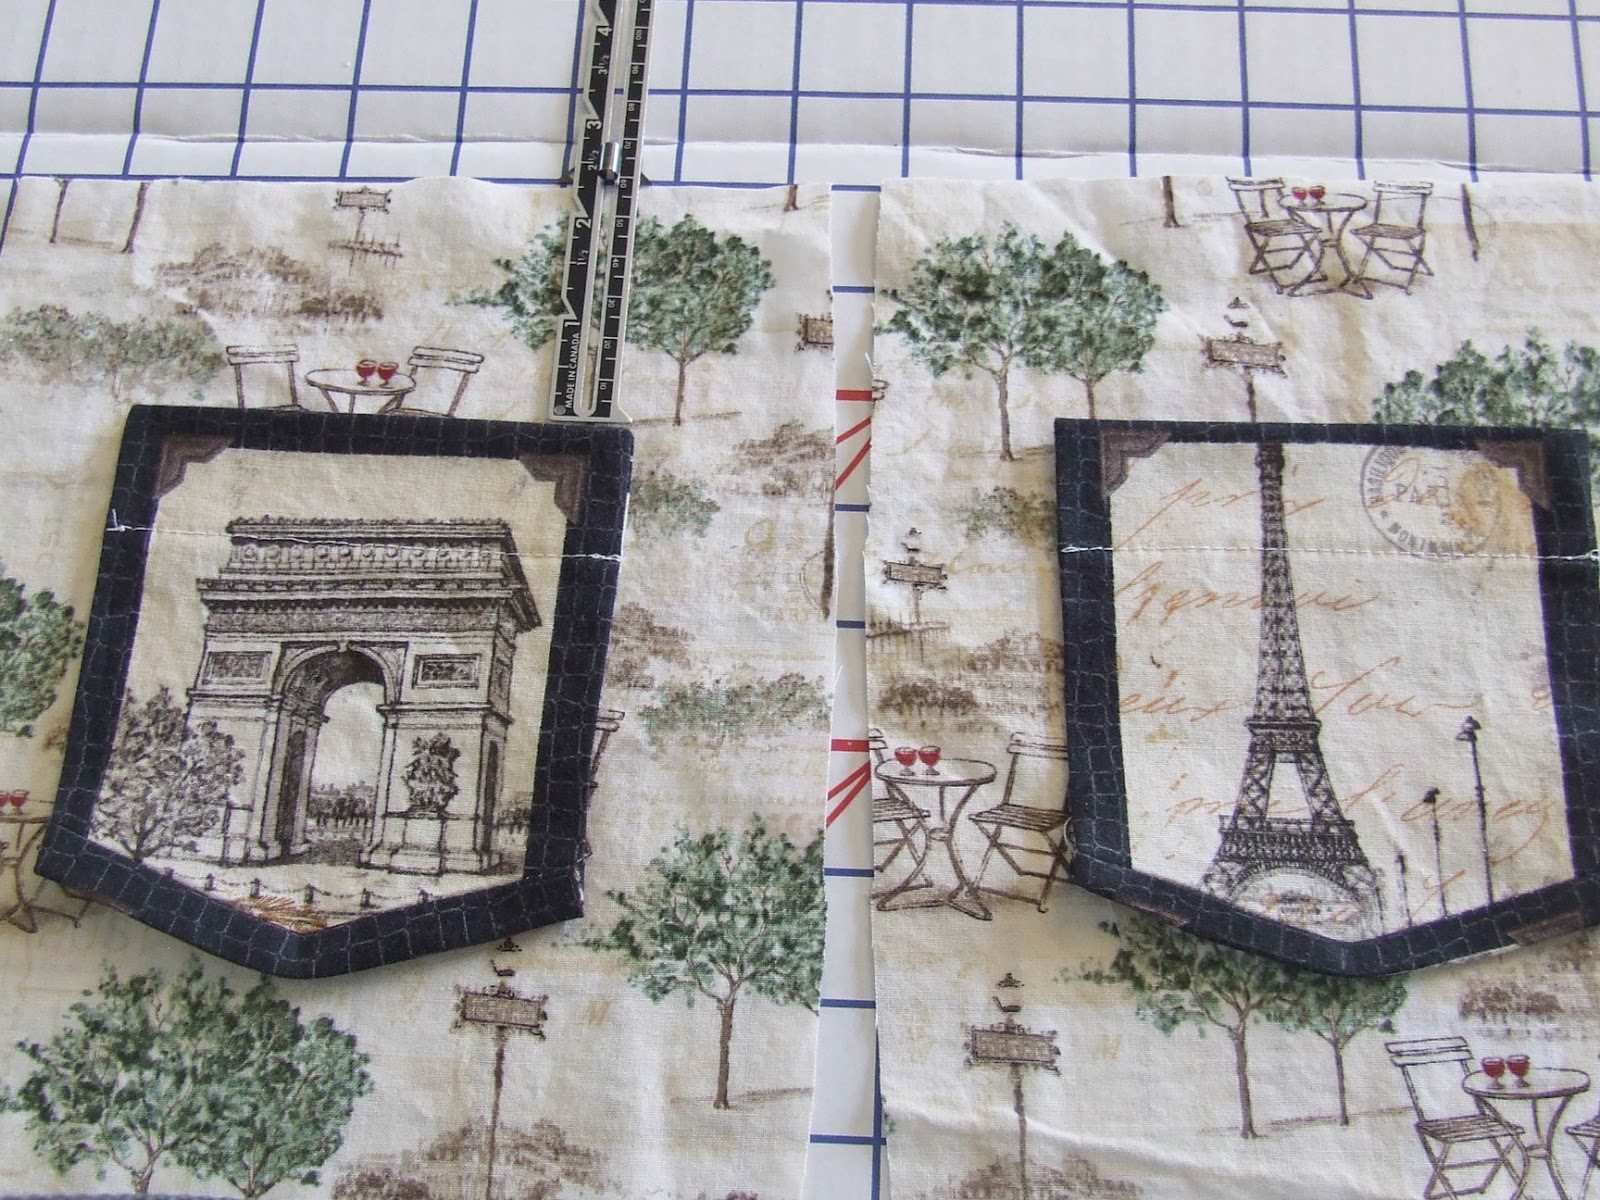
So lets get those pockets ready to be applied to the back of the shorts.
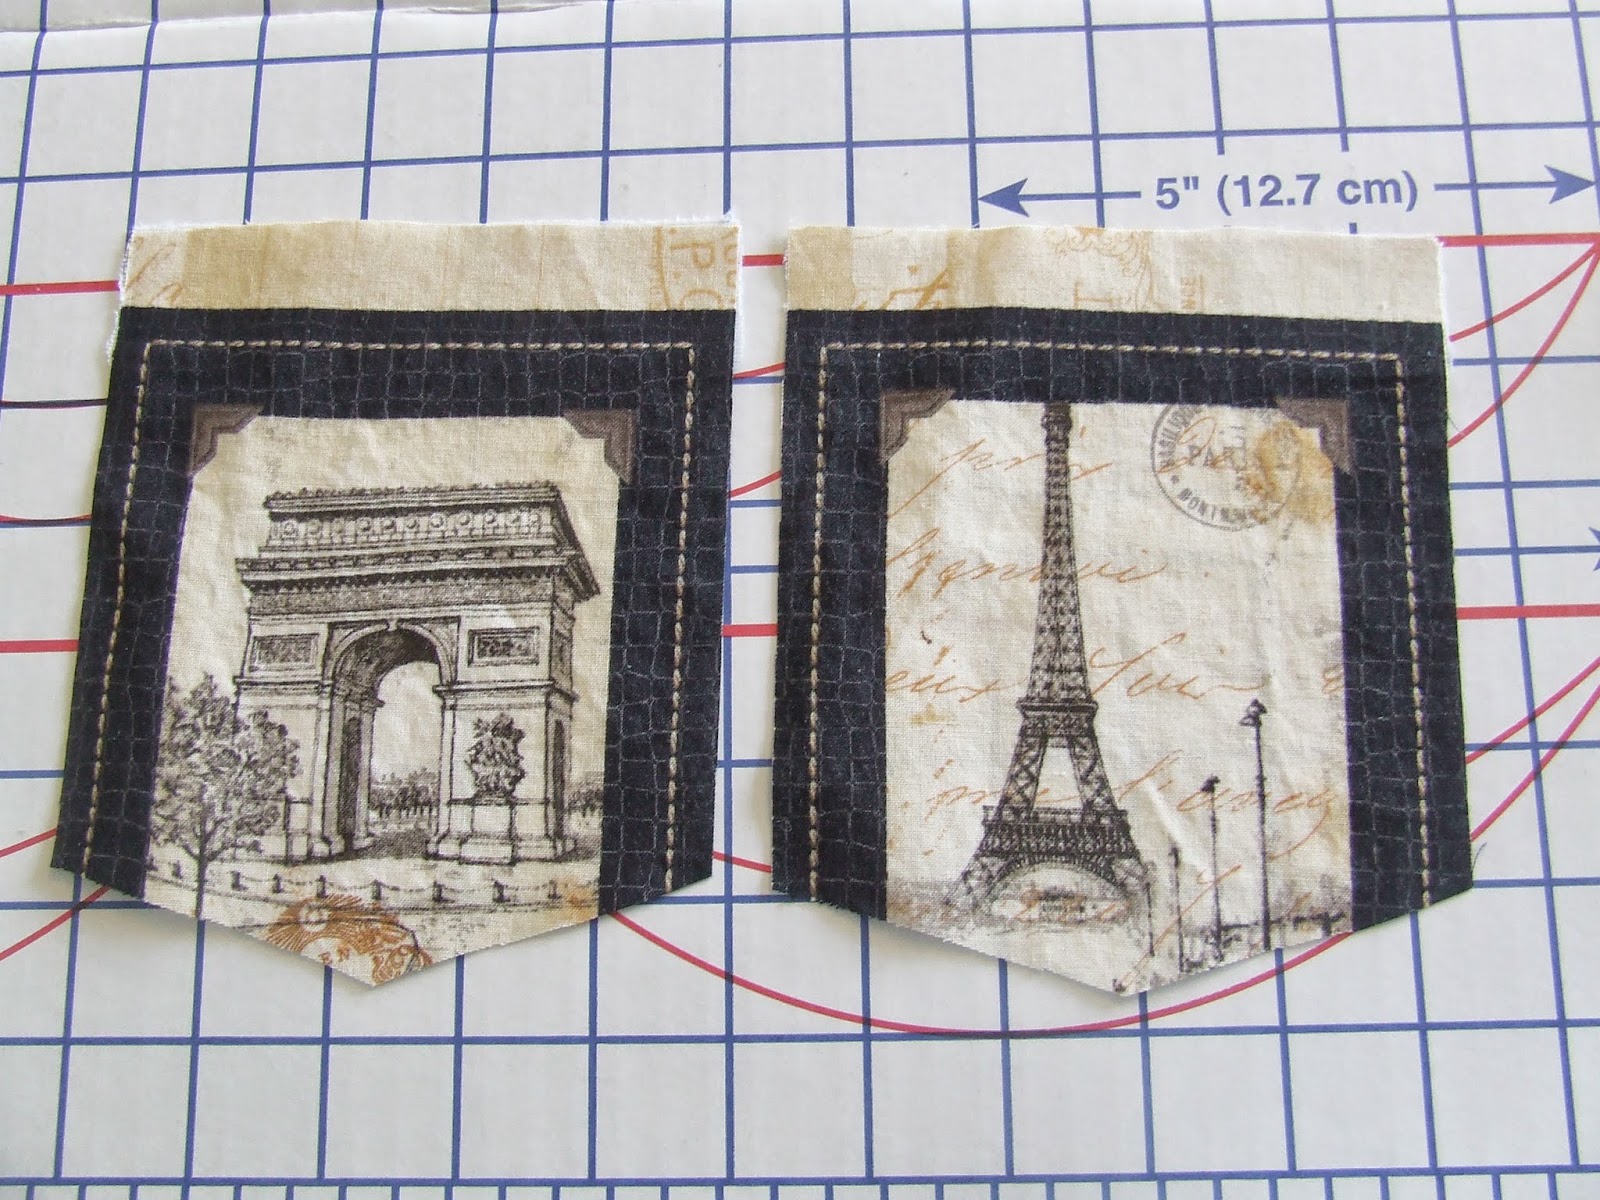
I simply used my serger to finish off the top edge fo the pockets and folded them down an inch.
I decided that I needed to add a little but of the border to the bottom part of the pocket so that it would be fully framed out. The pocket placement should have been marked on the fabric (shorts back), but I always like to check before stitching them on by measuring the top and the sides to make sure they'll be symmetrical.
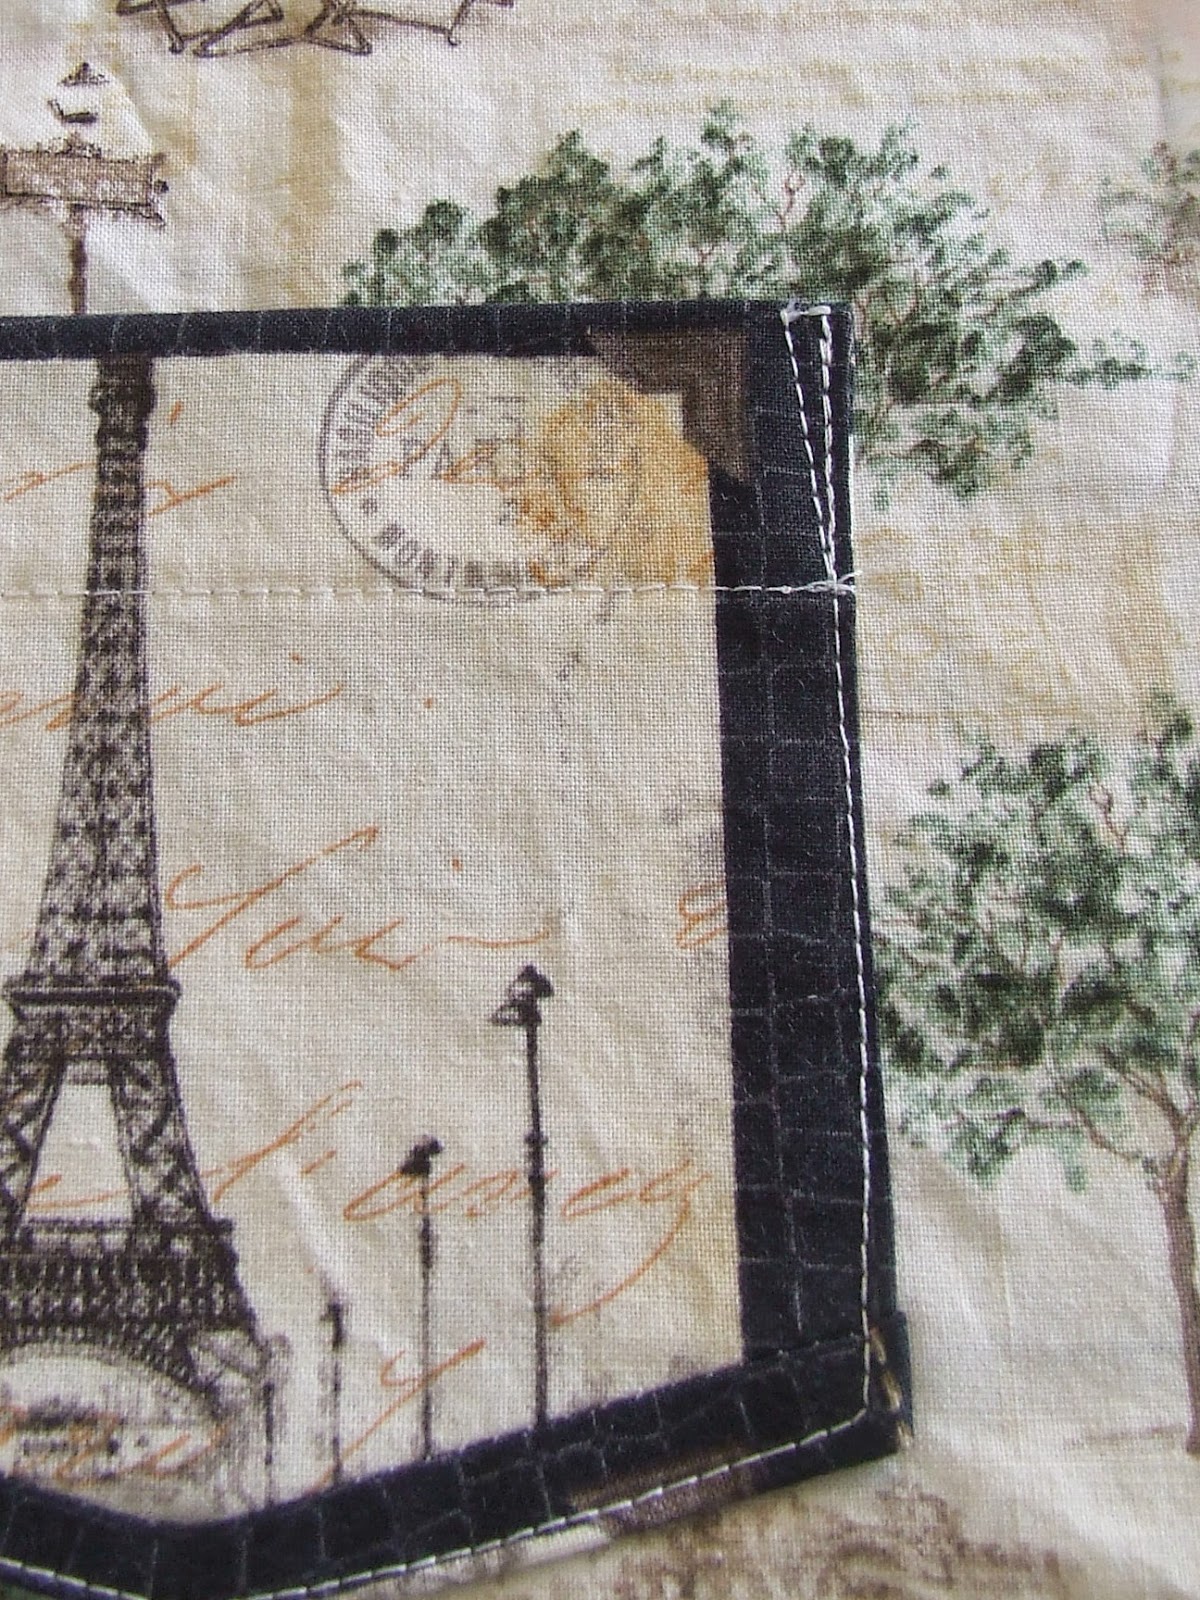
There are many way to secure the pocket at the top, some use a tight zigzag stitch, I like to used this little triangle method. Its all up to you.
Once your pockets are stiched into place you can stitch your front and back middle seams.
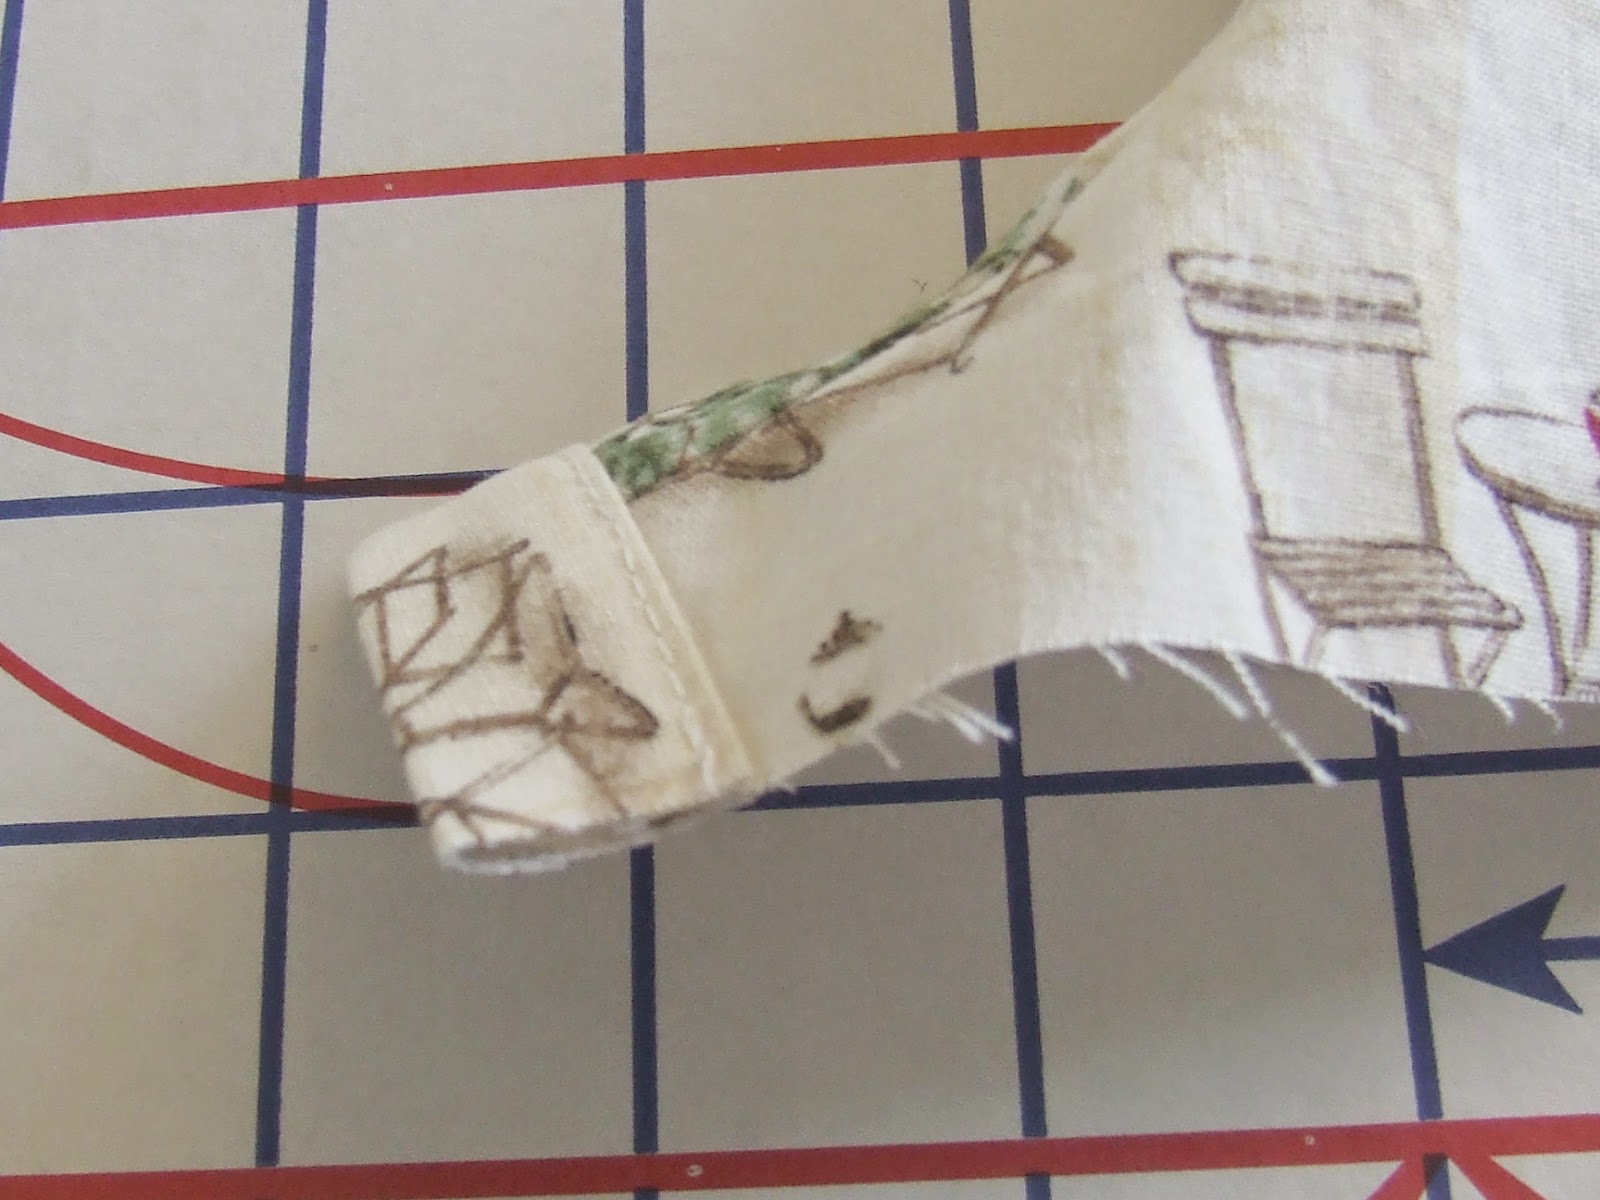
Now for the crotch with snap options...grab those little 3 X 2 inch pieces I had you cut out and then put interfacing on...Fold lengthwise and press with wrong sides together.
Place along inseam and stitch at 3/8" seam allowance, press seam as seen in photo 2 towards the placket, and finally in photo 3 you see I've tucked in the raw edge of the placket and simply finish by top stitching into place.

You may notice that the placket is longer that the inseam, simply trim the excess off.
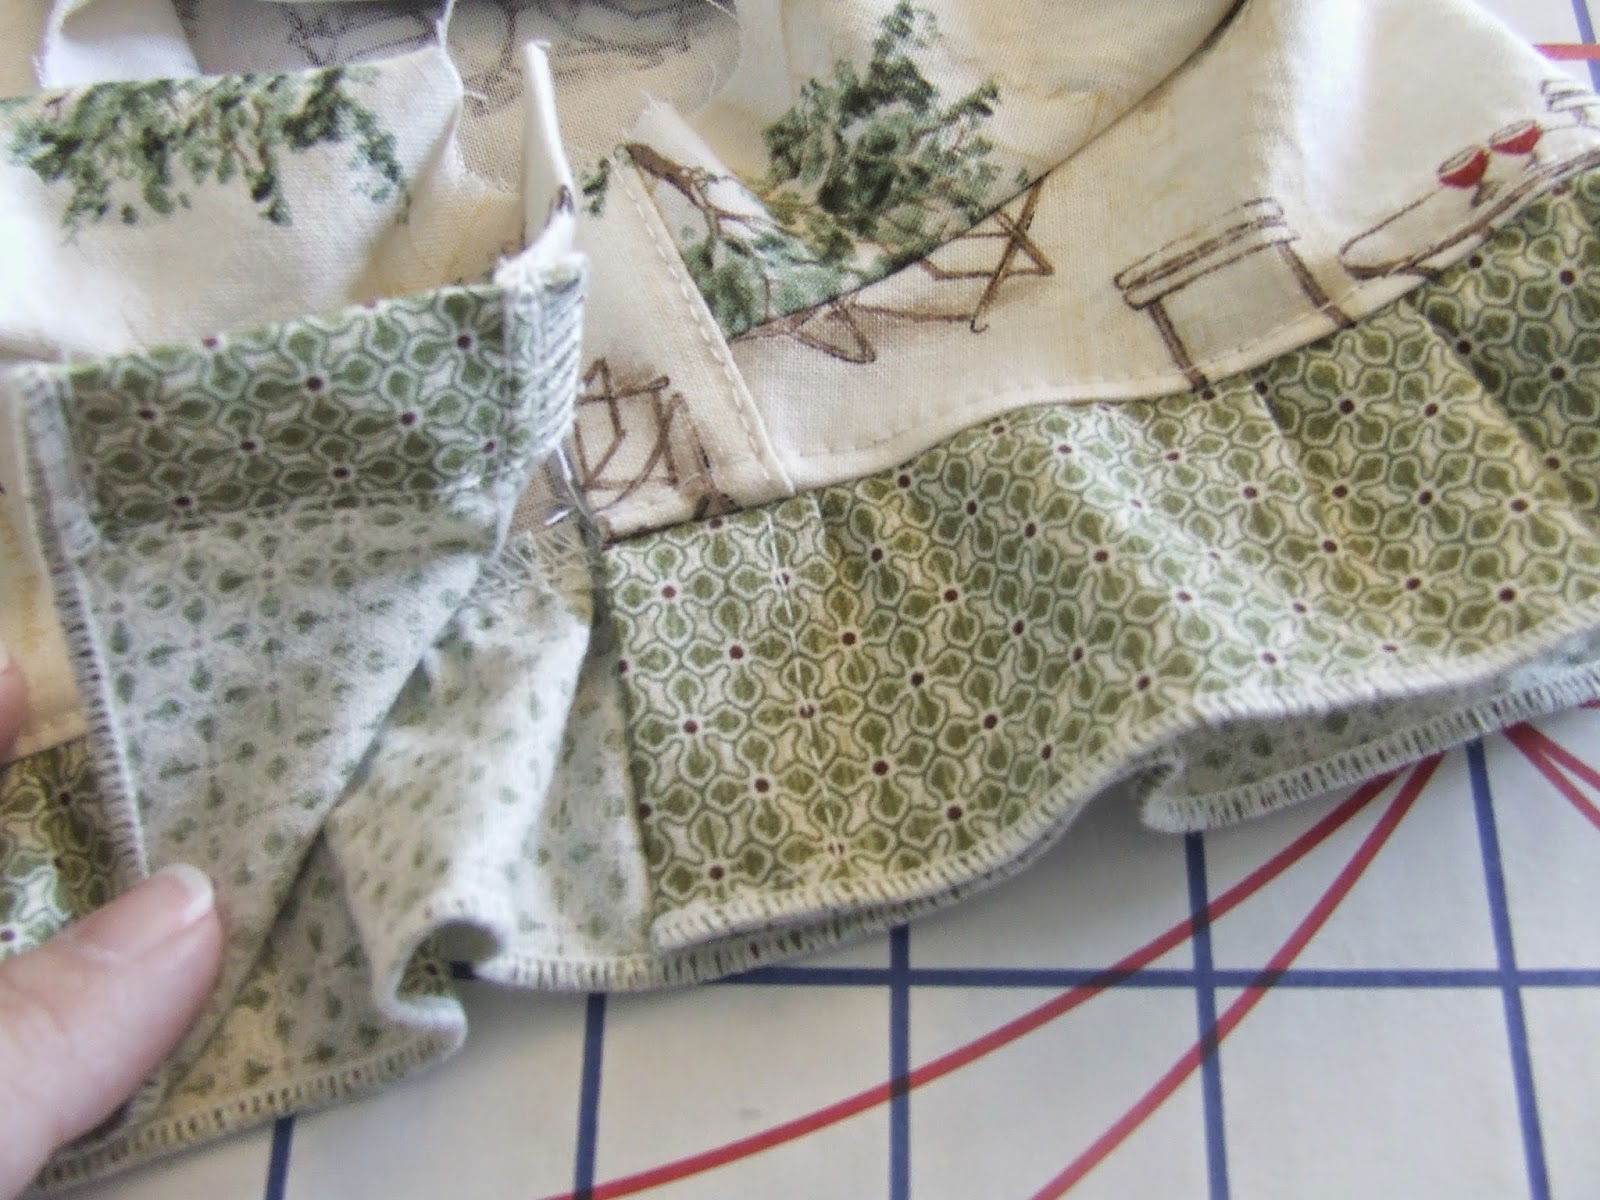
Once both plackets (one for the front and one for the back) have been stitched to the inseam of the shorts you can now stitch the side seams.
I once again used my serger to make a rolled hem on my ruffle, you can also fold 1/4 inch and again 1/4 inch and top stitch to finish off the ruffles edge. I then made the short edge match up like the placket by foling 1/4 inch and again 1 inch. I'll be using it as an extension to the placket.

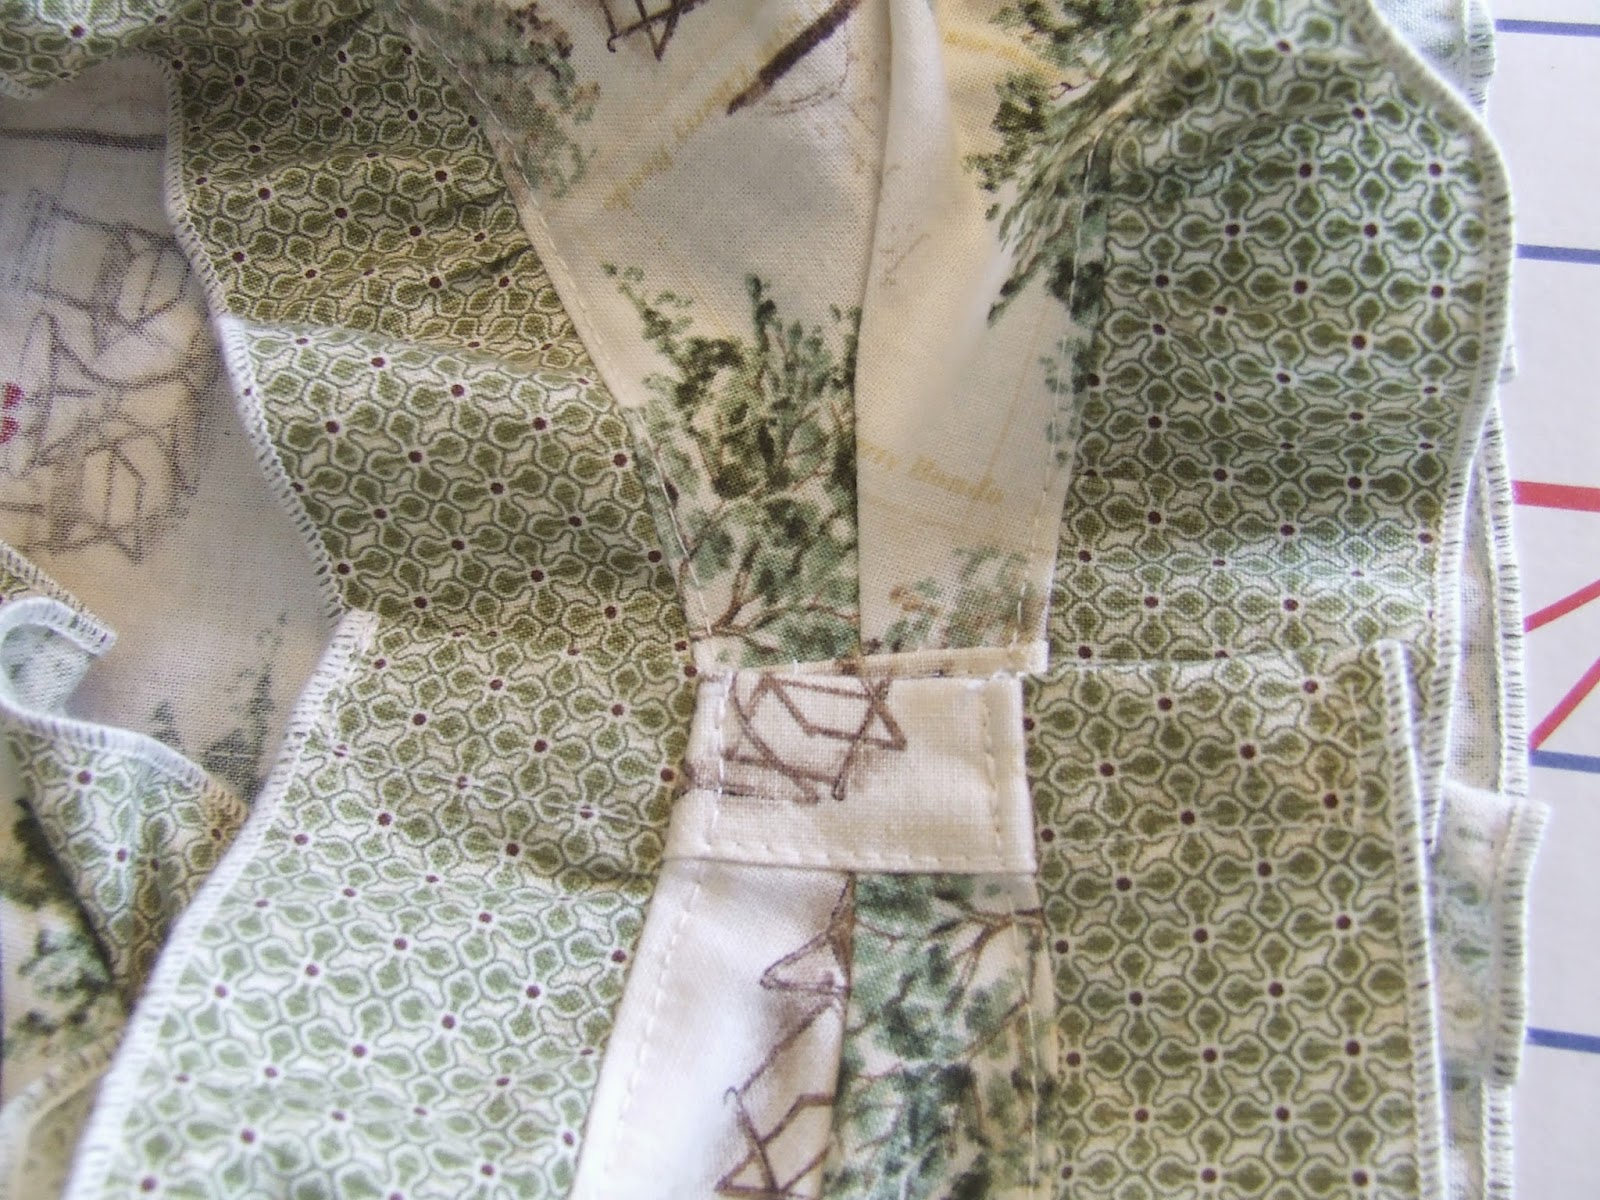
Use along stitch for gathering, distribute the gathers evenly along the bottom edge of the shorts, stitch into place, finish off with a zigzag stitch or serger and press the seam allowance up towards the shorts. Top stitch. Repeat for the other leg.
Everything matches up and now your ready to apply the snaps!
Tomorrow is our last day! We'll be sewing the bodice to the shorts, inserting the waist elastic, applying snaps, making buttonholes where needed (if needed), and adding the final touches!
I'm so looking forward to trying this romper on Amelia!
Until next time, xx.
No comments:
Post a Comment